Cabinet Guide
Getting Started
-
The to-do list may feel never-ending, but don’t worry. Just follow these simple steps to get the perfect cabinet installed in your home.
-
What is the main goal of your new or updated room? Add space, improve the kitchen or bathroom, increase security, address health needs, or just make your home better?
What are your choices? Can you expand into the yard, or work within the current space?
What matters most to you? Decide what to change, what to keep, and what to update.
Ask everyone in your household about their needs and wants.
Think about the future. Will your family grow? How long will you stay? Will the changes raise or lower your home’s value?
-
Read magazines, books, and this website to find styles you like. Gather pictures, ideas, and samples that match your taste. Watch related TV shows and save your favorite episodes. Visit home shows and supplier showrooms to see materials and designs in person, so you can choose confidently.
How to Measure
-
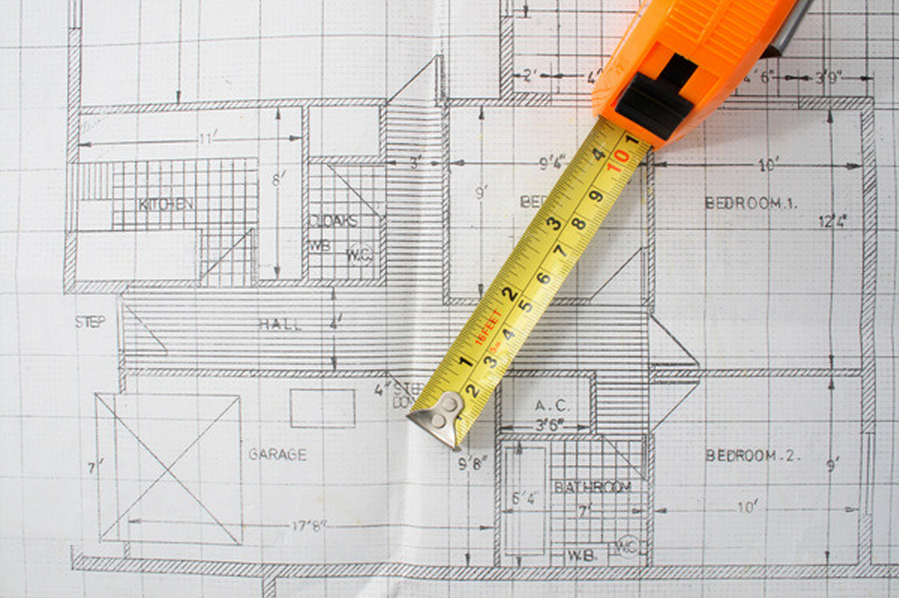
Doing a quick measure of the room containing your project can help us make the most of your initial meeting with us
-
1) When measuring, show all dimensions in inches; use a pencil for easy changes.
2) Begin measuring from a corner. Start 3-4 feet above the floor and continue to measure to the first object.
3) Work clockwise; record all measurements of the room noting any “breaks” like doors, windows, offsets, etc. Indicate the direction in which the door swings.
4) Indicate the rough sizes of existing or new appliances.
5) Note any additional features that may affect your layout.
Care & Cleaning
-
It is important to wipe up spills and water marks as they occur.
Use a damp cloth to clean normal household spills and dry the surface with a lint-free cotton cloth.
For stubborn stains it may be necessary to use a mild detergent with warm water and always dry the surface immediately.
Give special attention to areas around the sink and dishwasher, do not let liquid pool.
-
Self cleaning appliances generate intense heat during a cleaning cycle. We recommend removing the doors and drawers adjacent to or directly above an appliance during a cleaning cycle.
Avoid draping damp or wet dish towels on doors and drawers as the moisture can cause permanent water damage.
-
Clean a small area at a time and wipe dry.
Harsh solvents or abrasives such as turpentine may break down bonds on the edge-banding.
Waxes may lead to discoloration and are not recommended.
-
Apply cleaner to a cloth and not directly to the mirror - Do not allow to run and drip into the base trim.
Apply glass cleaner to a towel, not directly onto the glass.
Avoid cleaner contact with lead, white, gold, or copper mullions.
-
Periodically, use mild soap and warm water to clean knobs and pulls.
Thoroughly dry joints and surfaces with a soft, clean cloth.
Lubrication of hinges is not necessary. However; hinges can be cleaned using cotton-tipped swabs.
FAQs
-
Delivery/ Installation takes up to 6-8 weeks once the contract is signed
-
You can contact us for a no-obligation bid/estimate at NO Cost. It is completely Free!
-
Upon signing the contract, we typically require a 50% deposit. An additional 40% is due once the cabinets are completed or delivered, depending on the specific circumstances. The remaining 10% is payable upon final completion of the project.
Please note: Payment terms may vary based on the scope and total cost of the project.
Check out our FAQs for quick answers to common questions. If you don’t find the information you need, please don’t hesitate to contact us—we’re always happy and ready to help!
-
We gladly accept various forms of payment, including cash, checks, ACH transfers, and all major credit cards!
-
We use soft close hinges and slides for all projects.


